My creative side has gotten the best of me again. We have a large empty wall which has been calling out for a painting or other artwork for over a year now. We've looked, but haven't found anything we've liked which is large enough to suit that wall, and if we ever found it, I'm sure we'd be discouraged by the price. So the joking about painting my own may soon become a reality. Yesterday I started the project.
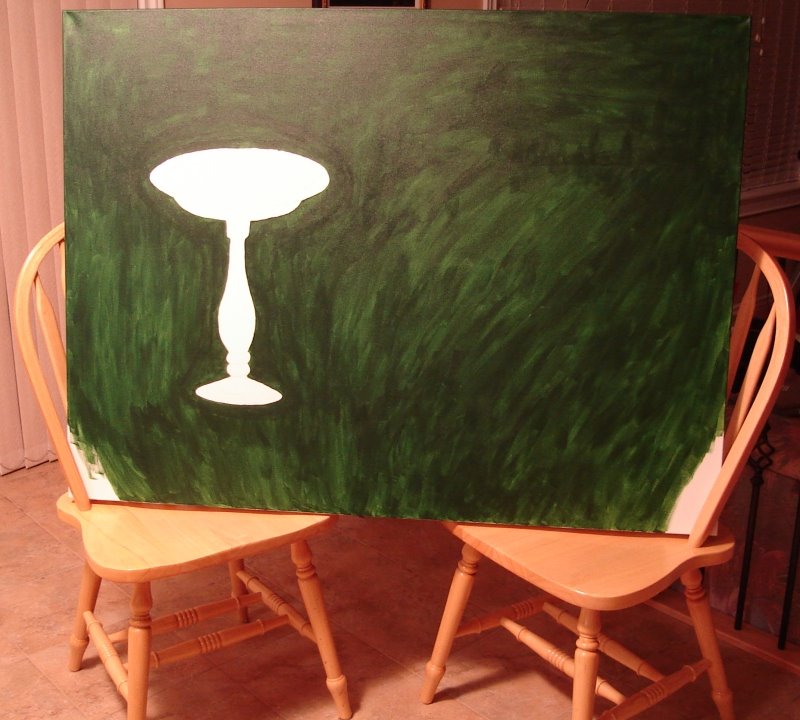
My first step was to decide on the dimensions of the piece. I cut out a large paper to the 36" x 48" which I had guessed would fit, taped it to the wall, and viewed it from all angles. Yes, it suited that space.
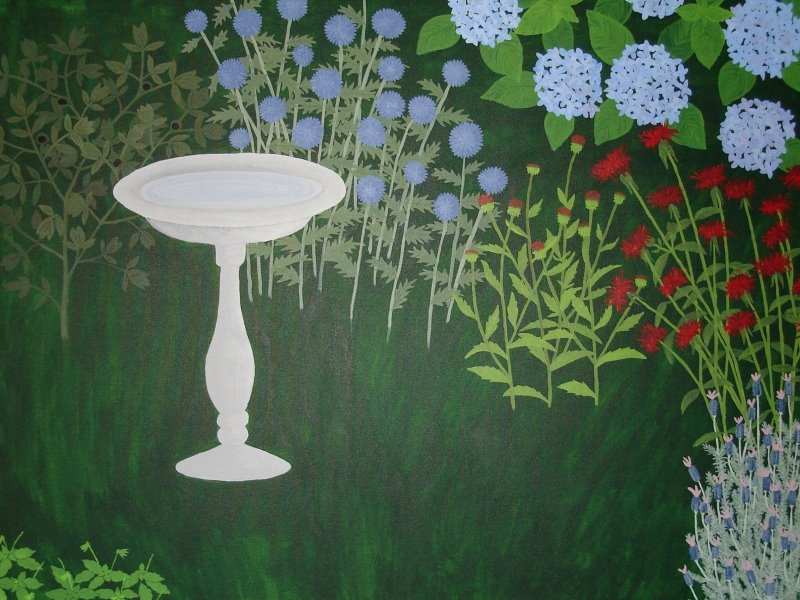
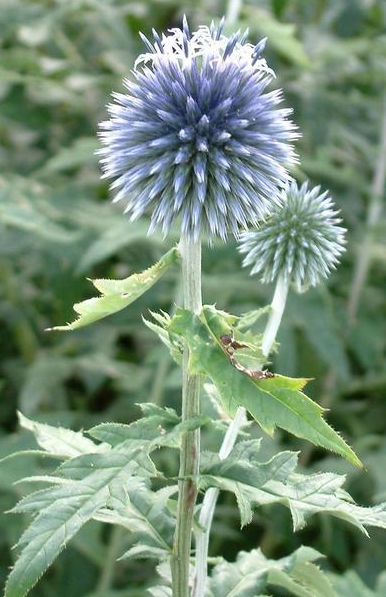
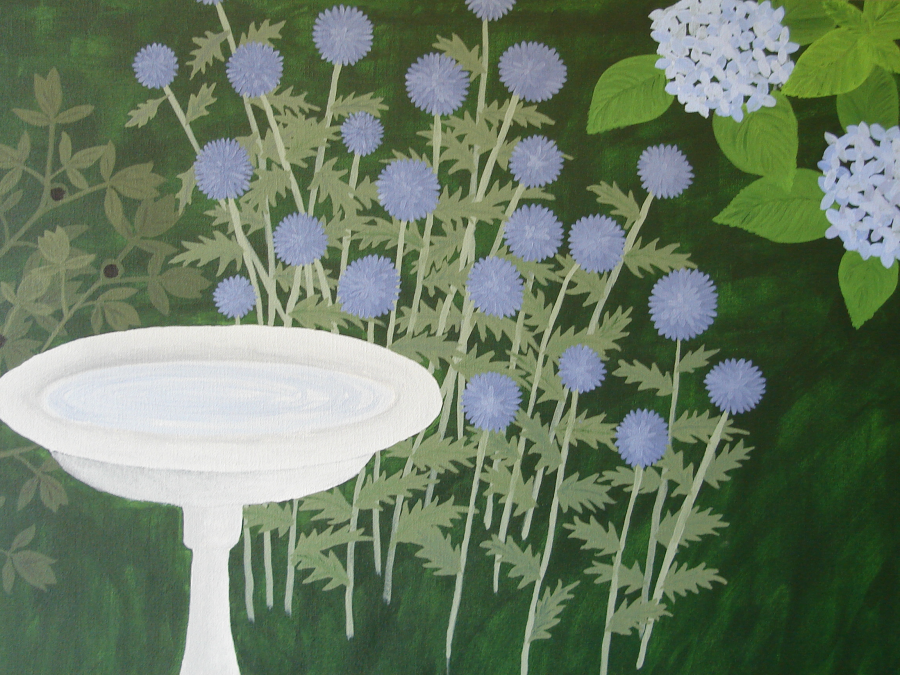
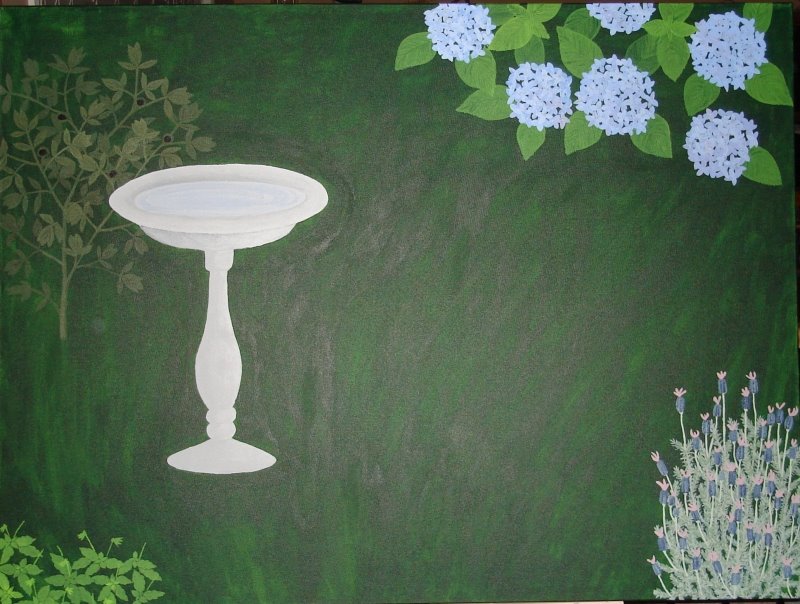
The picture in my mind is one of a mature flower garden, solid with flowers (no soil visible), in orderly patches of colour and texture. The layout will be a real garden on a hillside, so each successive flower rises above the one in front of it. Very much inspired by the garden I am trying to create in my back yard. I want each flower to be identifiable, and large enough to see the flower detail. My thought about creating a stained glass stylized image of the garden was given the thumbs down, so I will work in photo-realism, which is my natural style anyhow.
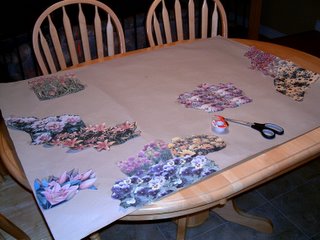
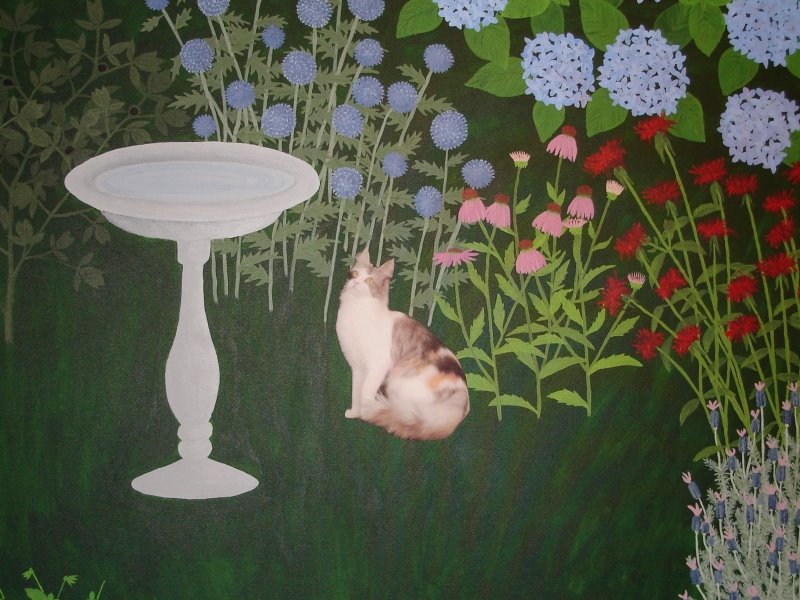
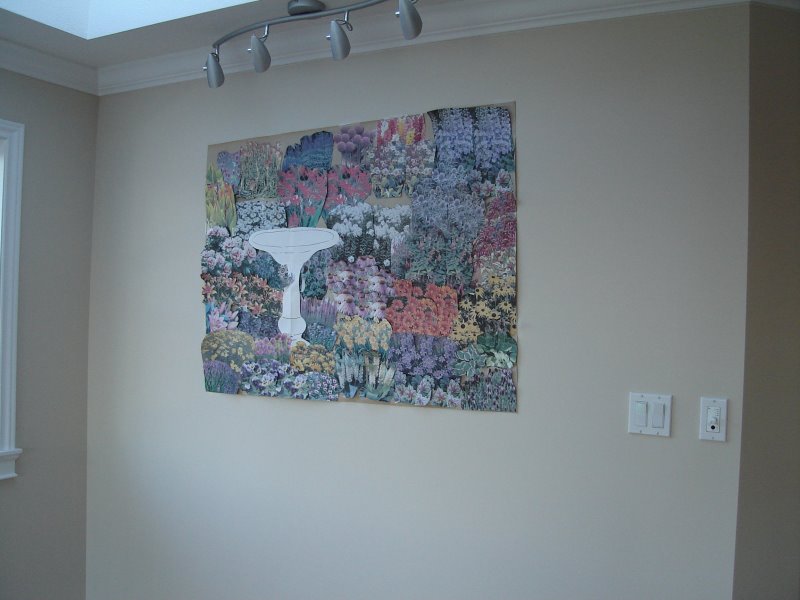
To layout the garden, I am using many of the flowers from my garden, and using a cut-and-paste of flower images printed from the internet, to get a feel for the composition and colours before I commit to it on canvas. I'll hang it occasionally, to make sure it looks good from a distance as well as close up. The photo shows my progress so far. I will continue to fill in the flowers until I have a layout. It needs a feature, such as a small statue, or basket & clippers, or a cat amid the flowers, but I haven't decided yet. My husband suggests I paint the kids in, but that may be too challenging for my first painting!
When the layout is near completion, I will invest in a set of artists acrylics, and try my hand at a small canvas board painting. If that goes well, I will buy the 36" x 48" canvas, and dive in. I've not given myself any time limit, and wouldn't expect it finished before the end of summer. My biggest challenge may be finding ways to involve the family, so they will allow me to work on it during waking hours, rather than waiting until the kids are in bed (which is my usual tendency). Wish me luck!


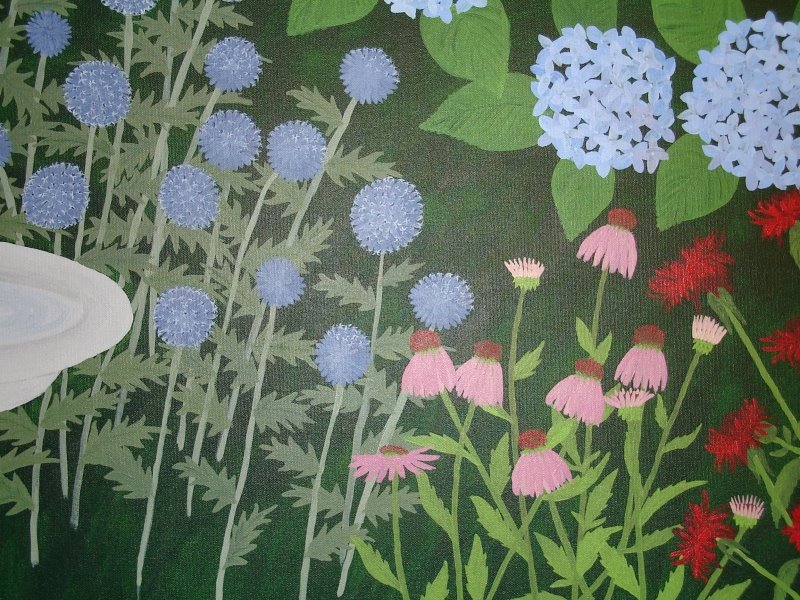
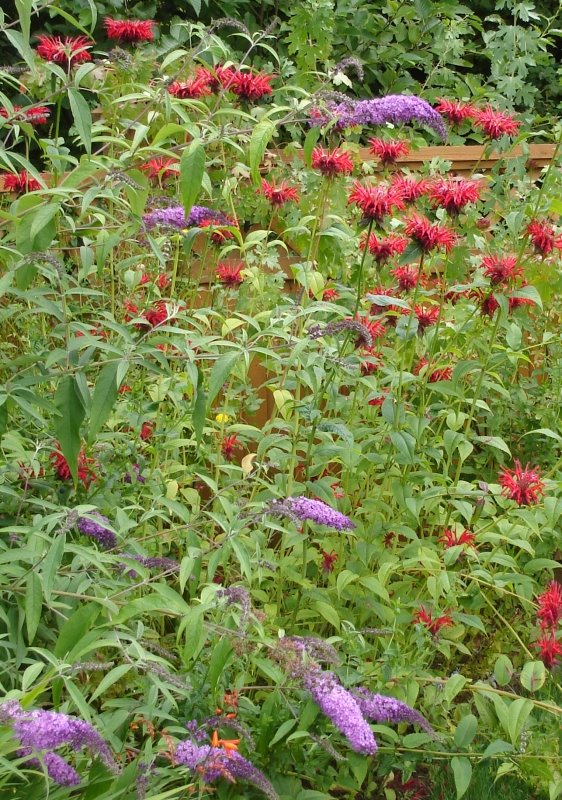
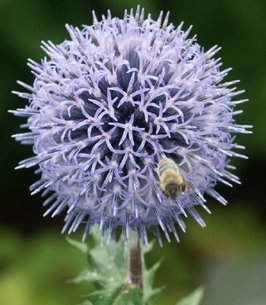
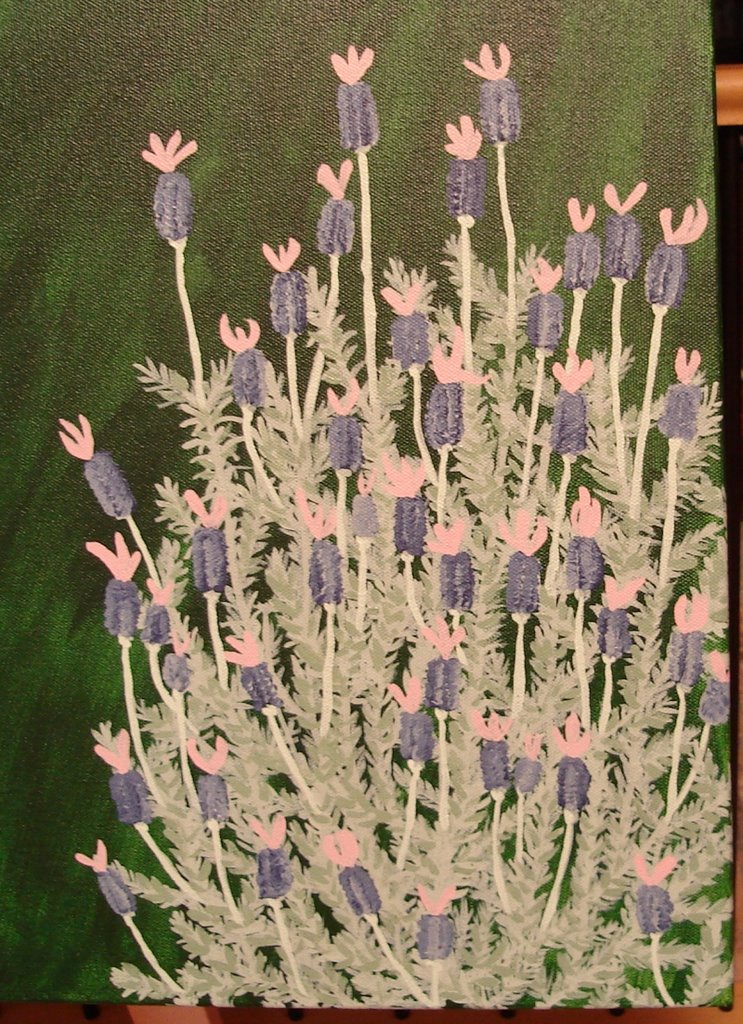
 Then tonight, the flower spikes:
  I chose a dark purple, to contrast the other flowers. I would have preferred a fuschia colour, but it would have been too similar to the coneflowers. I would have also preferred to have more foliage, looking at it now. I had a feeling that night, when I was adding in the foliage, that I continue further down the painting, and a bit denser. But I think it will be okay.


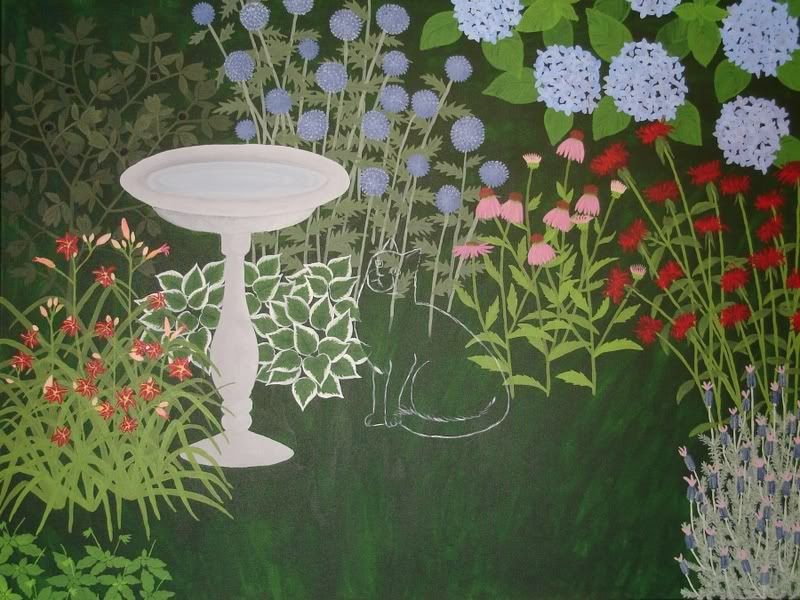

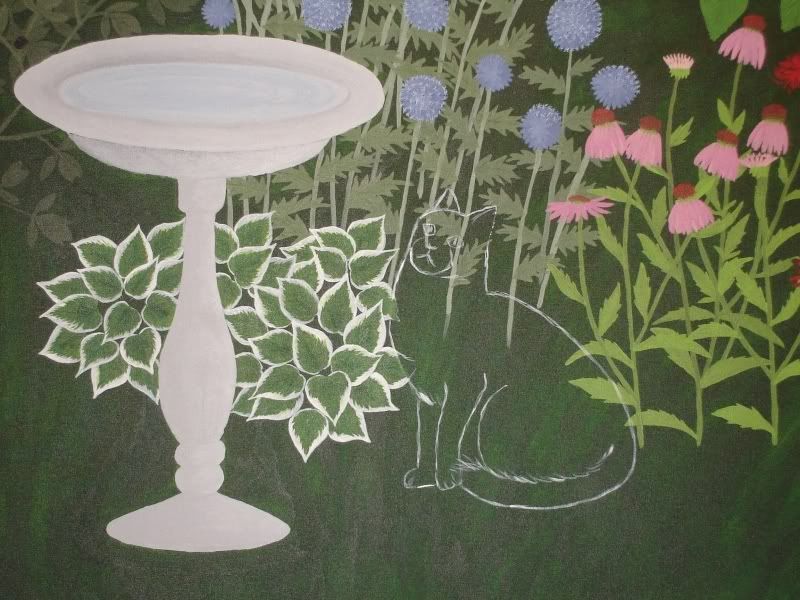
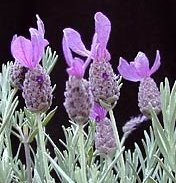
 ...and a group of Patriot Hosta...
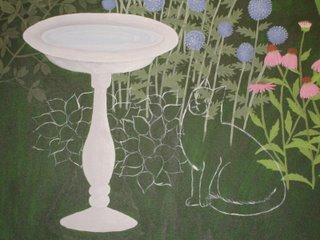 ...and filled in the white outline of the Patriot Hosta.
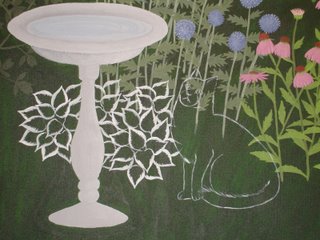 Another night, I will fill in the green centers (not as satisfying, since the background is already green, so it looks almost done already). I think I will also mix a touch of the green into white, and soften the white borders. They are currently too white.


